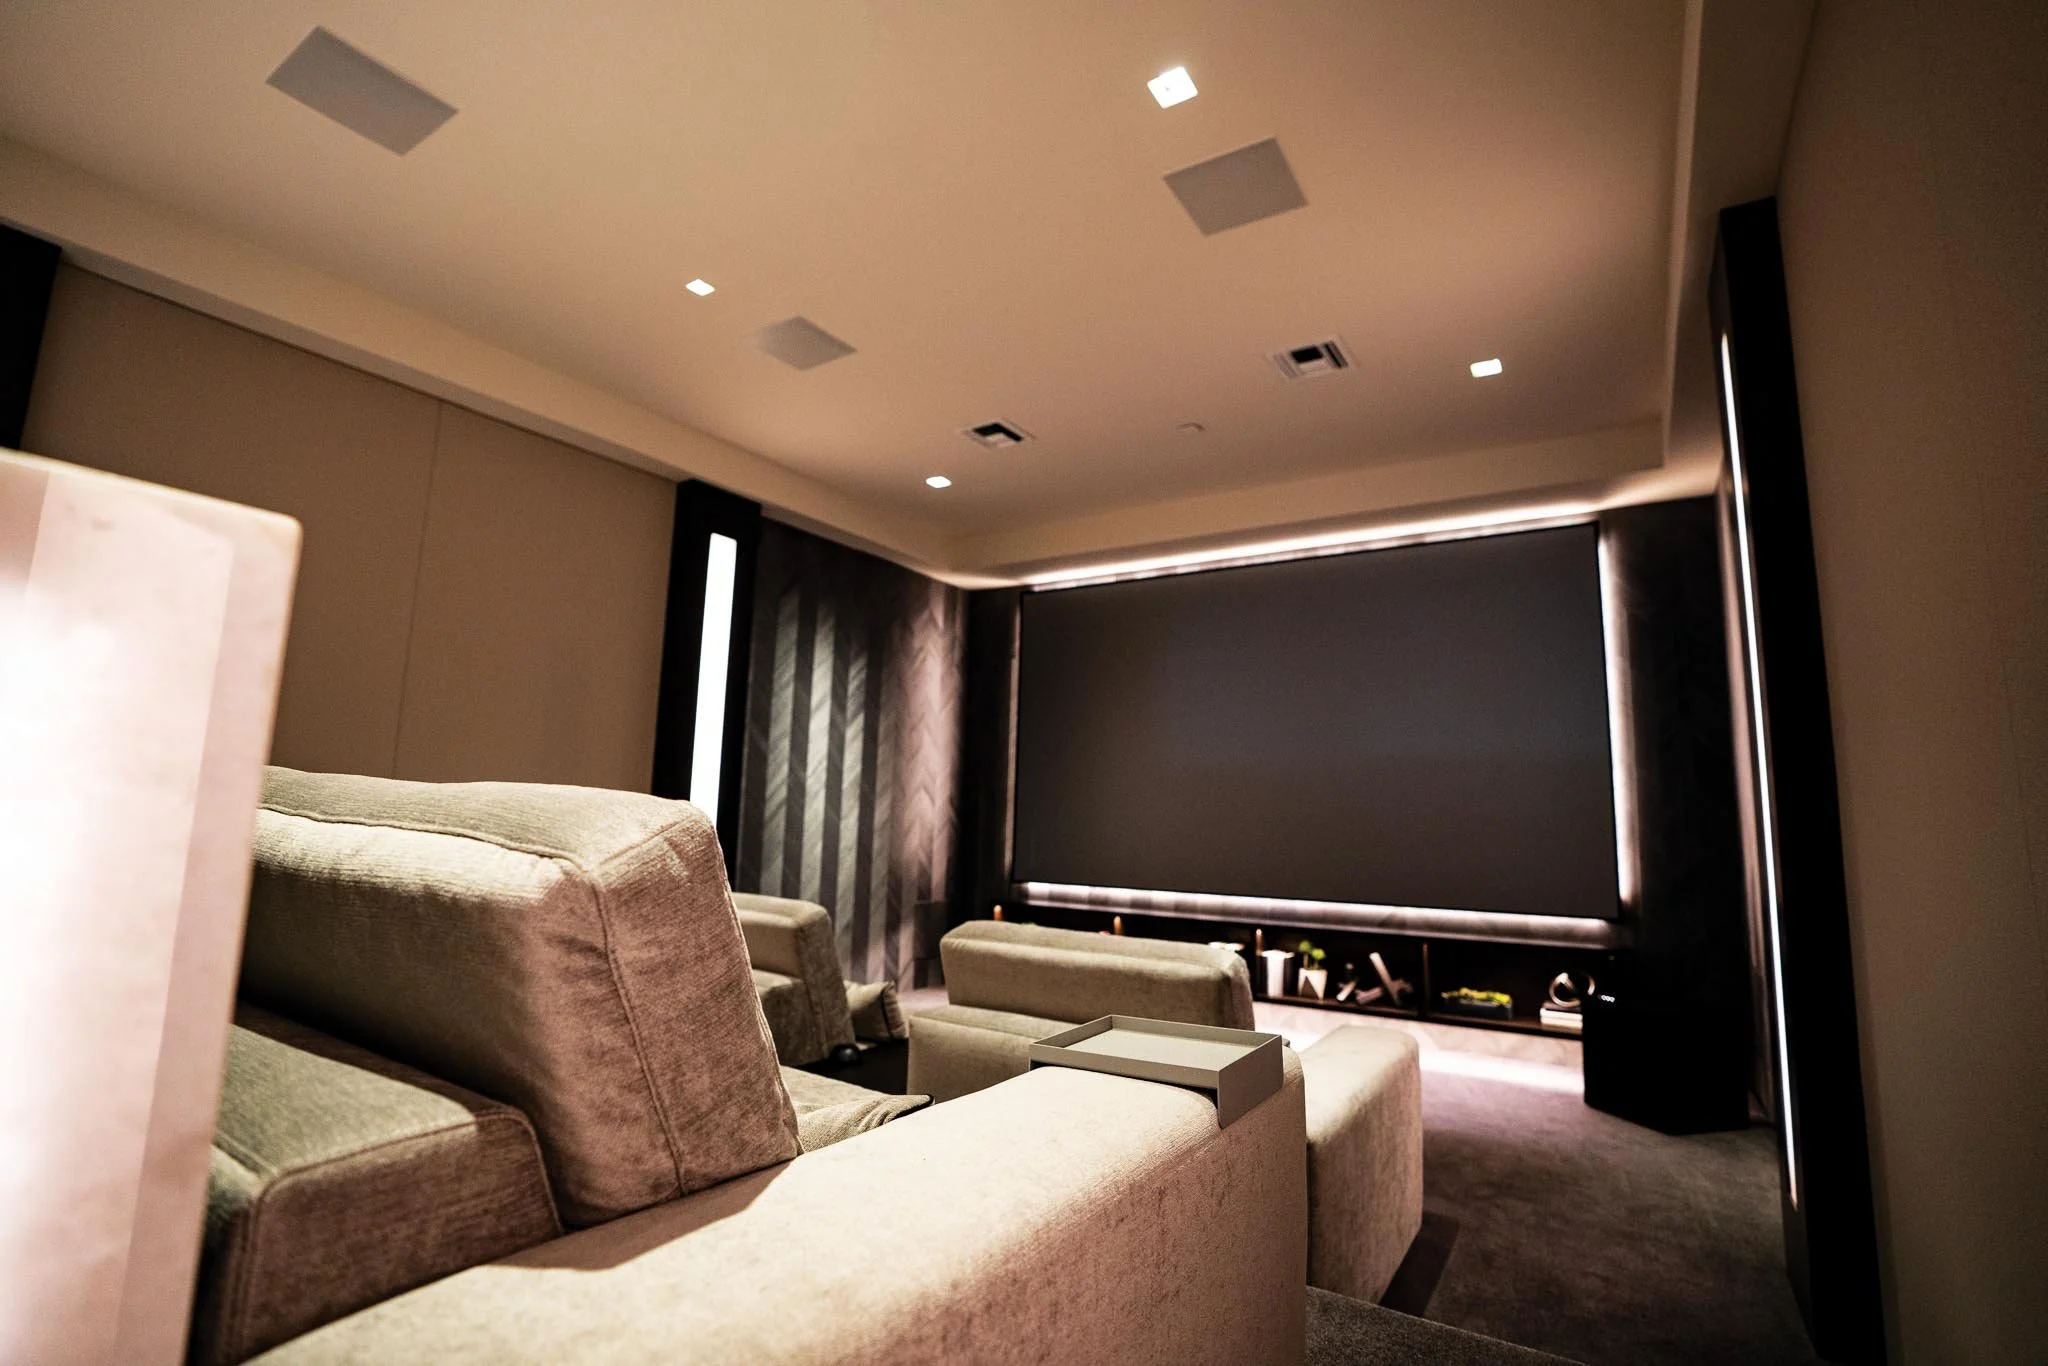
Professional Soundproofing Must-Haves: A Complete Guide to Creating a Truly Quiet Space
In today’s world of open floor plans, remote work, home theaters, and high-performance smart homes, professional soundproofing isn’t just a luxury — it’s a vital part of modern design.
While acoustic treatment improves the sound within a room, soundproofing controls how much sound escapes or enters a space. Whether you're designing a podcast studio, luxury home theater, conference room, or high-rise condo, here’s a deep dive into the must-haves for sound isolation that actually works.
1. Mass Is Key: Use High-Density Materials
The first rule of soundproofing is simple: mass blocks sound. Airborne sound waves (like voices or TV noise) lose energy when they hit dense, heavy barriers.
Some of the most effective materials include:
Mass-Loaded Vinyl (MLV) – flexible and dense, ideal for retrofitting.
Double-layer drywall – often combined with damping compounds.
Cement board or plywood sheeting – adds structural mass to walls or ceilings.
These materials work best when layered and sealed, preventing vibrations from passing through walls and floors.
Insider Tip: Try sandwiching a layer of MLV between two sheets of drywall with Green Glue for added isolation.
2. Decoupling: Break the Sound Path
Sound travels through solid materials via vibration. To stop it, you need to break that path using decoupling.
Common techniques include:
Resilient channels – metal strips that create a flexible connection between drywall and framing.
Isolation clips and hat channels – even better at floating the wall surface and reducing vibration transfer.
Double-stud walls – two separate walls with a gap between them to block direct sound transmission.
These are ideal for:
Shared walls in multi-family housing
Home theaters
Mechanical rooms or server closets
Why it matters: Even the thickest wall won’t stop low-frequency vibrations without decoupling.
3. Damping Materials: Absorb Vibrational Energy
Once you add mass and break the path, the next step is to dampen the sound that does manage to sneak in.
Damping products like Green Glue Compound are applied between rigid surfaces to absorb vibrations and dissipate them as heat. When used between two sheets of drywall or subflooring, it significantly reduces the transfer of sound — especially in mid to high frequencies.
4. Acoustic Sealant: The Silent Hero
Sound can travel through the smallest gaps — and air leaks are also sound leaks.
You must use acoustic sealant, not standard caulk, around:
Electrical boxes
Light fixtures
Baseboards
Windows and door frames
HVAC penetrations
This material stays flexible over time and doesn't crack, maintaining your sound barrier for years.
A well-sealed average room can reduce sound transfer by 5–10 dB — and that’s a huge difference in real-world use.
5. Doors & Windows: The Weakest Links
Even with perfectly sealed walls, standard doors and windows are huge sound leaks. A hollow-core door, for example, can let in more sound than the rest of the wall combined.
Professional must-haves:
Solid-core or acoustic doors with full-perimeter seals
Automatic door bottoms for floor gaps
Acoustic-rated window inserts or laminated glass
Double-glazed units with air gaps between panes
Acoustic Treatment for windows and doors is a necessary addition to any soundproof space.
6. Floor & Ceiling Isolation: Don’t Forget Above and Below
People often focus on walls, but floors and ceilings can be the biggest culprits — especially in multi-story homes or apartment buildings.
Floor Soundproofing Must-Haves:
Acoustic underlayment (rubber or cork) beneath hardwood or tile
Floating floors for high-performance media rooms
Area rugs + thick carpet padding for softening footsteps
Ceiling Soundproofing:
Double drywall with damping compound
Decoupled ceilings using isolation clips
MLV barrier above ceiling tiles or joists
Footfall and airborne sound can travel downward and upward — make sure your treatment is 360°.
7. HVAC and Ventilation Silencing
Ductwork is like a highway for sound. HVAC systems often transfer noise between rooms unless treated properly.
HVAC Soundproofing Tips:
Use lined flex duct or acoustic duct silencers
Avoid long straight runs of metal ducting
Add acoustic baffles in return air paths
Consider separate zones for high-noise areas (like media rooms)
For quiet rooms, HVAC design must be part of your soundproofing plan — otherwise, you're just moving sound around.
8. Acoustic Treatment (Not the Same as Soundproofing)
While soundproofing keeps sound in or out, acoustic treatment improves the sound quality inside a room.
Key components:
Absorptive panels to reduce echo and reverb
Bass traps for low-frequency control
Diffusers to scatter sound evenly
These are critical in:
Home theaters
Recording studios
Boardrooms and video conferencing spaces
Combine acoustic treatment with soundproofing for a truly high-performance space.


